Removing Paint Protection Film (PPF) from your vehicle might sound like a daunting task, but with the right approach, it can be a straightforward process that helps maintain your car's appearance. PPF acts as a protective shield, and over time, it may wear out or look discolored, prompting you to take on its removal. It’s essential to know that this isn't just about ripping off the old film—it’s about doing it carefully to avoid damaging the paint underneath. After investing time and energy into keeping your vehicle looking its best, following a proper removal guide will ensure you get results without any undesirable surprises. Let’s dive into how to do this correctly and safely!
Preparations for PPF Removal
Before diving into the intricate process of removing Paint Protection Film (PPF), proper preparation is essential. It ensures everything goes smoothly and prevents accidental damage.
Inspect the PPF
First, you'll want to inspect the condition of the PPF meticulously. Look for signs like peeling edges, yellowing, or cracking within the film itself. These are indications of how gently you’ll need to approach each area.
Clean the Vehicle Surface
Next, clean your vehicle's surface thoroughly using pH-neutral car soap to avoid any harsh chemicals that could react with the adhesive. Dry the vehicle completely using a microfiber cloth to ensure that no dirt or debris can scratch the paint when removing the PPF.
Set Up a Controlled Environment
Choose an indoor space with moderate temperatures (ideally between 70°F to 100°F or 21°C to 38°C). Extreme cold makes adhesives harder to peel off, while excessive heat can make them too sticky.
Necessary Tools and Conditions
Having the right tools is pivotal for a smooth and effective PPF removal process.
Heat Gun or Blow Dryer
A heat gun or blow dryer will be your main tool for softening the adhesive beneath the film, making it easier to peel off without damaging the paint.
Microfiber Cloths
These soft cloths are perfect for handling and cleaning surfaces during the removal process without causing scratches.
Adhesive Remover
Use an adhesive remover specifically formulated for automotive finishes. Ensure it is labeled “paint-safe” to avoid any harm to your vehicle’s protective layers.
Plastic Scraper
A plastic scraper helps safely lift the film without risking scratches or gouges that a metal scraper might cause.
Step-by-Step PPF Removal Process
Now, let’s get to the heart of the process. Follow these steps to ensure a smooth, damage-free PPF removal.
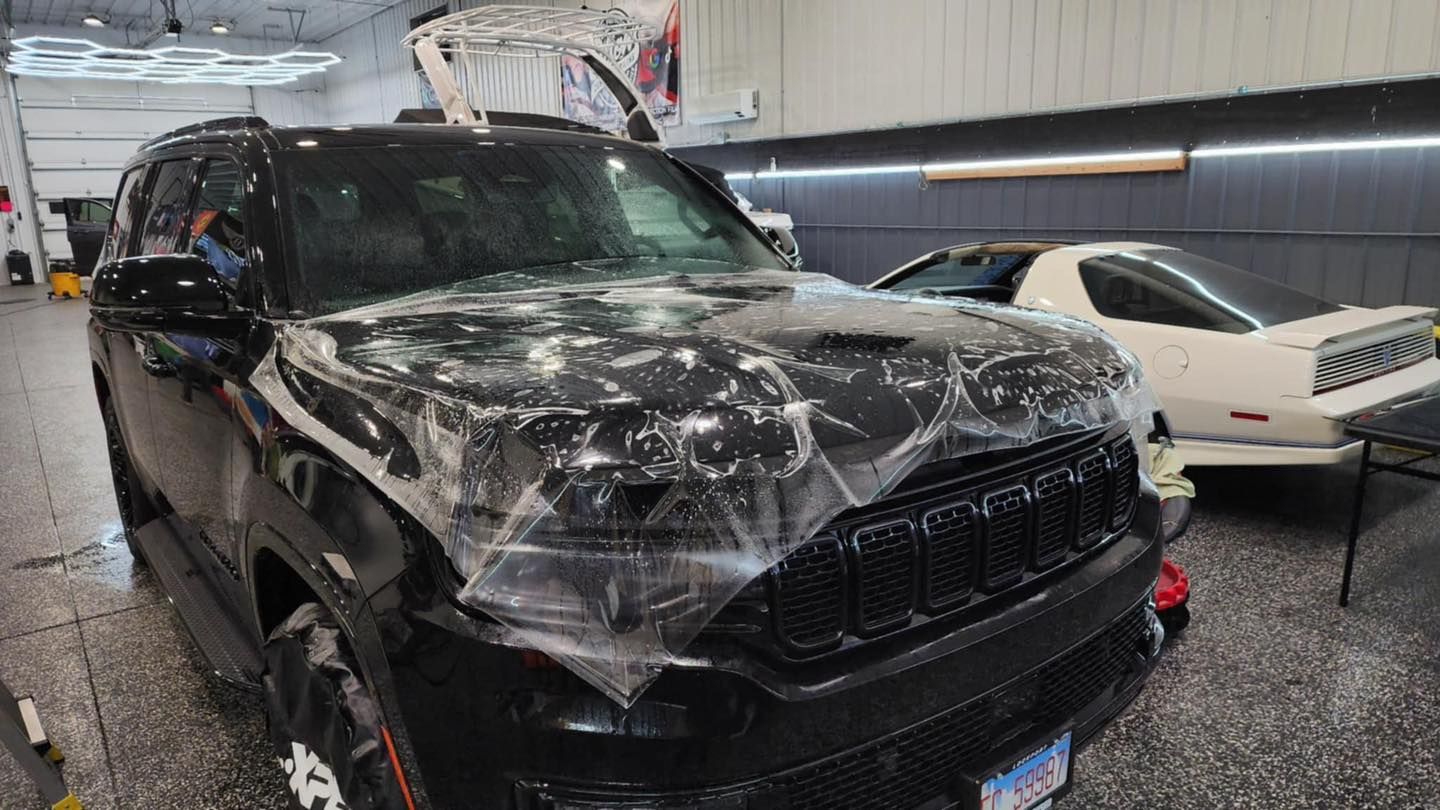
Step I: Warm the Film
Start by using your heat gun or blow dryer to gently warm a small section of the film (about six inches). Aim for a temperature range of 140°F to 160°F (60°C to 71°C). Heat softens the adhesive, making it easier to peel the film away without damaging the paint.
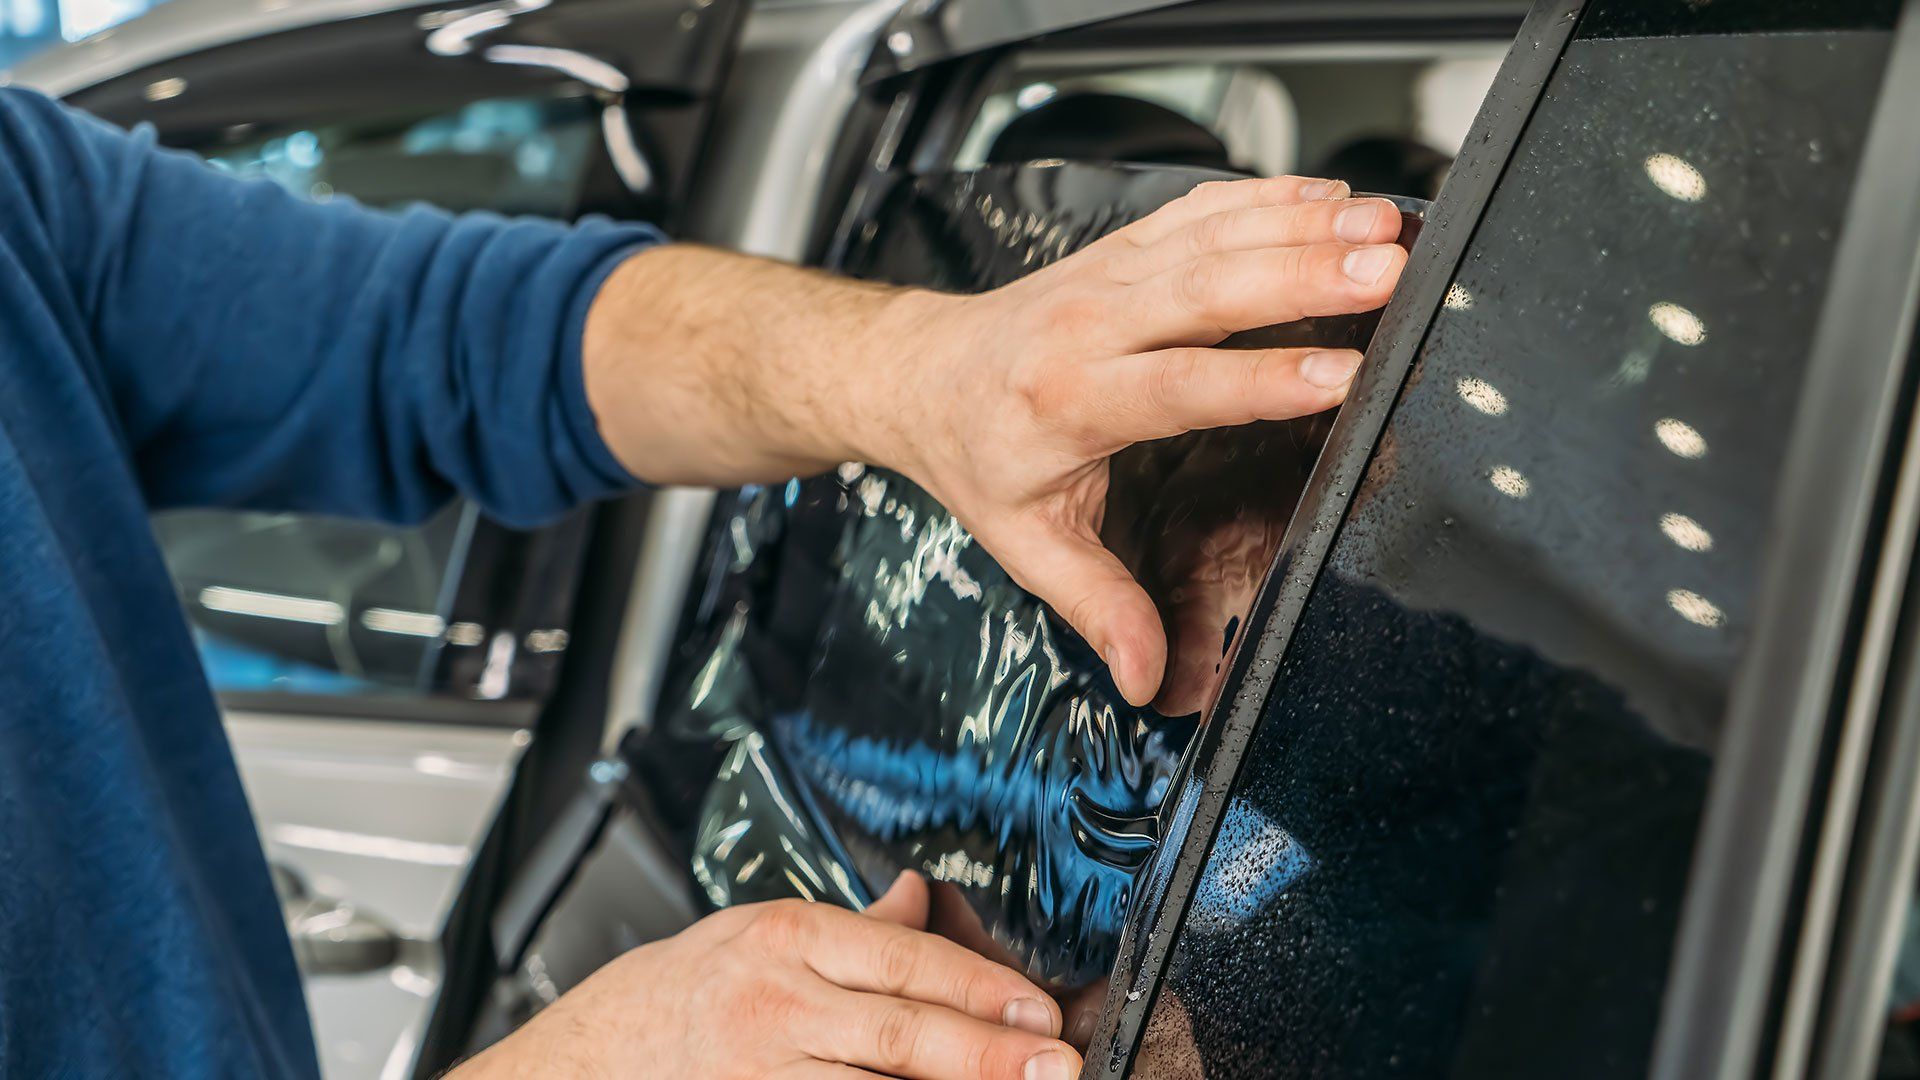
Step II: Peel Back a Corner
Once you’ve warmed up the initial section, use a plastic scraper to gently lift one corner of the film. If the film is tough to lift, apply more heat to help loosen it.
Step III: Peel Slowly
After lifting the corner, peel the film back slowly while maintaining a 45-degree angle. Continuously apply heat as needed to keep the adhesive pliable.
Step IV: Address Stubborn Areas
Some sections may resist removal. If you encounter resistance, stop and reapply heat before continuing. Gently tugging without heat can damage the underlying paint.
Alternative PPF Removal Methods
If you prefer not to use a heat gun, several alternative methods are available.
Using a Steam Cleaner
Steam cleaners can provide heat and moisture to loosen the adhesive. Keep the steam cleaner 6 to 12 inches away from the film to avoid excess moisture.
Chemical Solutions
Adhesive removal sprays specifically formulated for automotive applications can help break down stubborn glue. Always follow the manufacturer’s instructions on dwell time to avoid any complications.
Cleaning Adhesive Residue
After removing the PPF, some adhesive residue is likely to remain. Here’s how to handle it.
Step-by-Step Residue Cleaning
To remove the adhesive, apply an adhesive remover to a clean microfiber cloth. Gently rub in circular motions to dissolve the glue. Use isopropyl alcohol mixed with water for stubborn residue.
Rinse and Inspect
After cleaning, rinse the area with clean water to remove any leftover solution and dry the surface with a microfiber cloth. Inspect the area to ensure no residue remains. Repeat the cleaning process if necessary.
Tips to Avoid Surface Damage
Use Quality Tools
Invest in non-abrasive tools like a plastic scraper and microfiber cloths to avoid scratching your vehicle’s paint.
Test Adhesive Removers
Before applying adhesive remover broadly, test it on a small, inconspicuous area of your vehicle to ensure it doesn’t damage the finish.
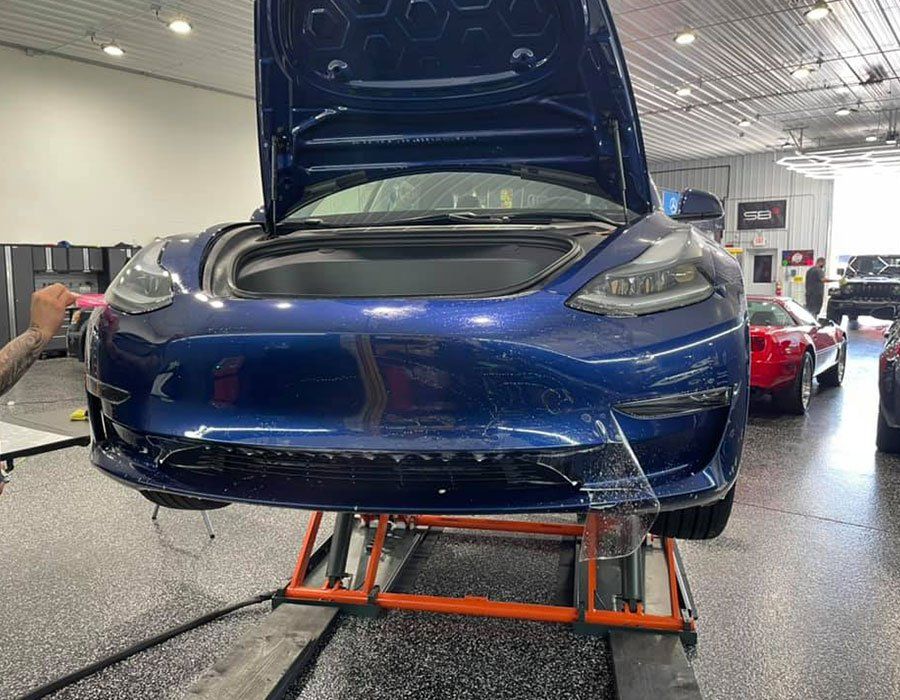
Preparing for New PPF Application
After successfully removing the old PPF, you need to prepare the surface for a new layer of protection.
Surface Inspection
Inspect the surface for dust, wax residues, or minor imperfections. Cleaning or correcting these will ensure the new film adheres properly.
Paint Correction
If imperfections are found, consider performing a minor paint correction. This helps create a smooth, optimal surface for the new PPF.
Surface Prep Solutions
Use isopropyl alcohol mixed with water to wipe down the surface and remove any oils or residues, ensuring a clean surface for the new film.
Final Thoughts
Proper PPF removal is crucial to preserving the appearance of your vehicle. By following these steps and using the right tools and techniques, you can remove the old film without damaging your car’s paint. Remember, patience is key to a smooth, successful removal process.
If you’re looking to protect your vehicle with a fresh layer of Paint Protection Film, reach out to Olson’s Custom Detailing today. Our expert team will ensure your car receives the best care and protection. Book your consultation now and discover the difference we can make for your vehicle!