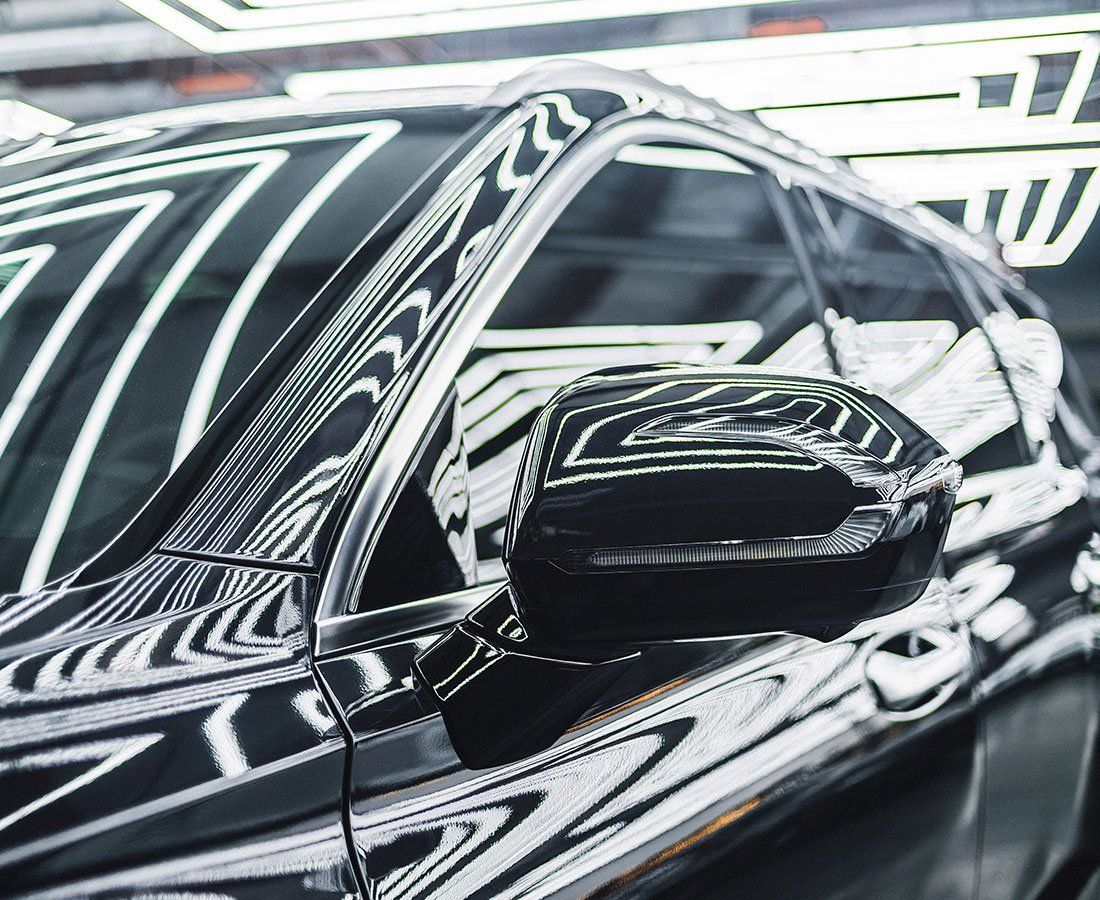
When it comes to sprucing up your car, window tinting might not be the first thing that comes to mind, yet it holds more benefits than you might expect. Imagine driving in comfort while keeping harmful UV rays and pesky prying eyes at bay. That’s right, professional window tinting enhances both your driving experience and the longevity of your vehicle's interior. But how do you navigate the process to ensure you’re making informed choices? In this guide, we’ll break down everything from selecting the right tint film for your needs to understanding the installation process and beyond. Let’s dive in!
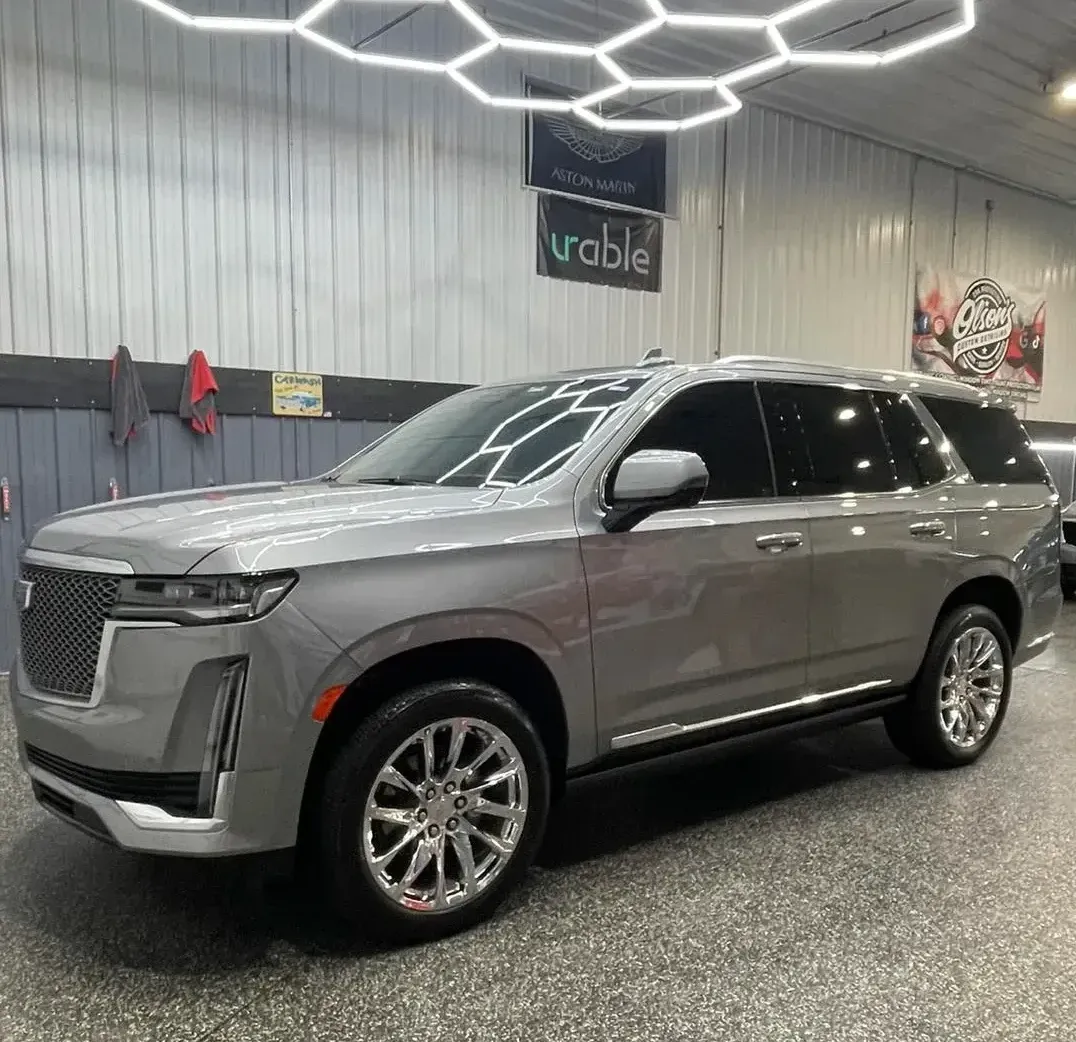
During the professional window tinting process, you can expect several key steps, including choosing the right tint for your vehicle, thorough preparation of the windows to ensure proper adhesion, and precise film customization followed by careful installation. After completion, it typically requires a curing period of 2 to 5 days for optimal results, during which it's important to avoid rolling down the windows.
Selecting a Professional Tinting Service
The first step towards a flawless tinting job begins with diligent research. Start by seeking recommendations from friends or family who have had their windows tinted. Personal experiences can be incredibly revealing. For instance, one satisfied customer may say, “I chose Olson’s Custom Detailing based on a friend’s suggestion and couldn't be happier with the results.” This underscores the value of trusted opinions in your decision-making process.
However, personal recommendations are just the tip of the iceberg; they should spark further investigation into potential installers.
Research and Recommendations
Beyond personal suggestions, dive deeper into online resources. Check if the companies you're considering boast any industry certifications from reputable organizations like the International Window Film Association (IWFA). Certified professionals are trained in best practices that ensure high-quality results, minimizing the likelihood of errors during installation. Think of it as finding a doctor, wanting someone who's highly trained in their field will bring peace of mind.
Now that you've narrowed down options based on recommendations and certifications, it’s crucial to take the next step: evaluating customer experiences.
Customer Reviews and Case Studies
Utilize platforms like Google, Yelp, and dedicated automotive forums to gather reviews about potential tinting services. Take note of key details—are complaints regarding service response times common, or do positive reviews continuously highlight expertise and long-lasting results? A good rule of thumb is to look for services that maintain at least 90% positive ratings. If glowing comments about professionalism and customer care abound, you’re likely onto something solid.
With customer satisfaction insights tucked away, it’s time to broaden your comparison.
Get Multiple Quotes
There’s wisdom in casting a wide net before making your final decision. Aim to obtain quotes from at least three different service providers. Not only will this help you gauge what an average job costs, often ranging from $200 to $800, but it will also give you insight into what each company includes in their services. This process allows you to spot any red flags that may signal inflated pricing or hidden fees. Most importantly, clear communication during this stage can help establish a rapport with the installer, further indicating how professional they truly are.
Taking these steps equips you with essential information and prepares you for exploring the various materials used in window tinting films available on the market today.
Types of Window Tinting Films
The variety of window tinting films available today can be both exciting and overwhelming. Choosing the right film involves understanding its properties and how each type caters to your specific needs. To simplify this, let's explore the main categories of tinting films available on the market.
Standard Films
Standard dyed films are often the gateway for many first-time buyers due to their affordability. These films work by absorbing sunlight rather than reflecting it, which can help reduce glare and provide some basic UV protection. While they’re budget-friendly, keep in mind that they won’t offer the same longevity or performance level as other options, especially regarding heat rejection. This may be fine if you live in a temperate climate where excessive heat isn’t a significant concern.
Carbon Films
Carbon films incorporate carbon particles that effectively block infrared light. This feature makes carbon films particularly efficient at reducing heat coming into the vehicle without sacrificing visibility. They help maintain a comfortable interior temperature and enhance your car's overall appearance with a sleek, modern look. For quality without breaking the bank, carbon films make a compelling choice since they deliver great performance at a moderate price point.
Ceramic Films
For those seeking the ultimate in window tint technology, ceramic films are truly premium options. Created from nano-ceramic particles, these films provide outstanding clarity while blocking up to 99% of UV rays and an impressive 70% of infrared light—superior protection for both your skin and your car's interior. Although they come with a higher price tag, many consider them worth the investment due to their excellent durability and long-lasting performance.
Comparison of Tinting Films
| Type | UV Protection | Heat Reduction | Cost | Durability |
|---|---|---|---|---|
| Standard Dyed | Good | Moderate | $ | Moderate |
| Carbon | Very Good | High | $$ | High |
| Ceramic | Excellent | Very High | $$$ | Very High |
As we see from this comparison table, each type of tint film offers unique advantages based on performance metrics like UV protection and heat reduction. Weighing these factors against your budget and personal preferences is essential when deciding which film to choose for your car windows. With the right selection made, you'll be well on your way to enhancing comfort and safety within your vehicle while enjoying these protective benefits.
Preparing Your Windows
Proper preparation ensures that the tint film adheres correctly, requiring attention to detail as it sets the stage for a smooth installation. Cleaning the windows is crucial. Technicians thoroughly clean the inside of each window to remove any dirt, grime, or old adhesive. This task ensures that every speck of debris is eliminated since even a small amount can wreak havoc on how well the tint film sticks.
When choosing a cleaner, opt for a non-ammonia-based solution. This helps avoid potential damage to the glass while providing an effective clean, think of it as giving your windows a gentle bath that leaves them sparkling.
Cleaning the Windows
As the technician waves their cleaning cloth across the glass, they ensure no stubborn dust or smudges remain. Clients are often surprised at how much clearer their windows look after this thorough cleaning. The result is not only aesthetic but practical; clear glass promotes optimal adhesion when the tint is applied.
After cleaning, give the windows a moment to air dry completely to prevent moisture from compromising the integrity of the tint film once installed.
Inspecting for Damages
Following cleaning comes an important task: inspecting the windows for damages. Technicians examine every inch for scratches, chips, or other imperfections that might hinder effective tint application. It’s vital to highlight these issues beforehand to avoid delays during installation.
If flaws are found during inspection, minor repairs like polishing out scratch marks or filling in chips with clear resin may be necessary to ensure a flawless finish. Addressing these concerns improves appearance and enhances the durability and lifespan of the window film.
Taping Off Surrounding Areas
With clean and inspected windows ready, technicians tape off areas around each window frame using masking tape. This protective measure safeguards your vehicle’s interior from hazardous cleaning solutions and adhesives that could harm upholstery or dashboards during installation.
Entering this phase might seem trivial, but it's part of an expert's toolkit, a testament to meticulousness prioritizing your vehicle's integrity. By securing these areas with tape, technicians can focus solely on applying the tint without worrying about unwanted spills or splatters.
With adequate preparation behind you, enthusiasm builds for what comes next—the thrilling step where professionals apply the tint film!
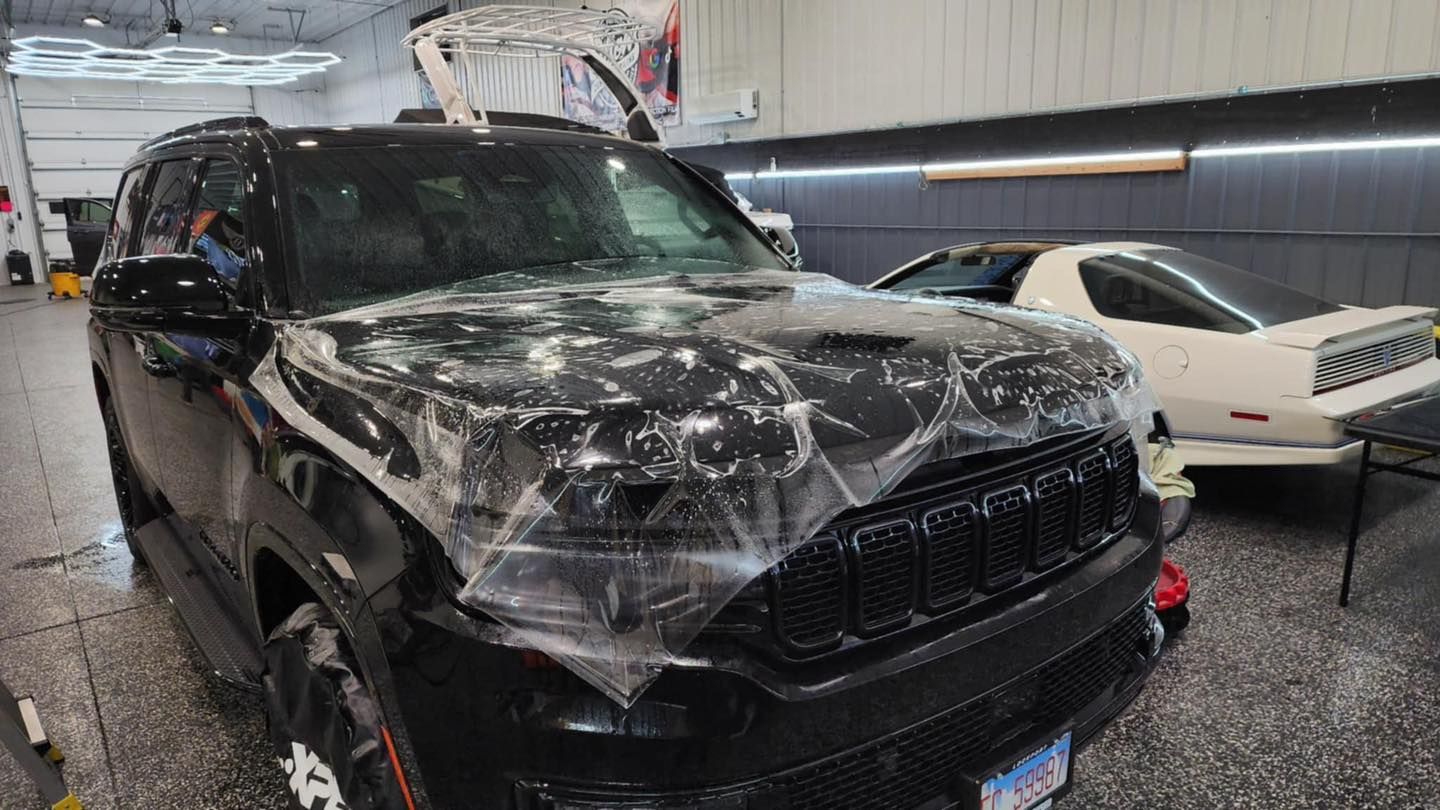
Applying the Tint Film
The application of window tint film is truly an art form. Achieving a flawless finish requires precision, skill, and the right tools. The first step in this intricate process is cutting the film.
Cutting the Film
Technicians utilize advanced plotter-cutting machines to meticulously cut the tint film according to the specific dimensions of each window. These machines are designed for high accuracy, ensuring that every measurement is carefully taken to guarantee a perfect fit. Imagine fitting a glove – if it’s even slightly off, it won’t look or function as intended. This initial step sets the foundation for everything that follows.
With the film accurately cut, attention turns to preparing the surface for installation through the application of adhesive.
Applying the Adhesive
Before applying any adhesive to the glass, it's essential that the window is squeaky clean. A special adhesive solution is expertly sprayed onto the glass surface. This isn’t just any adhesive; it’s specially formulated to create a lasting bond between the film and the window. Think of it as adding glue before you stick a photo in an album, you need that strong adherence for longevity.
Remember, if dust particles remain on the glass, they can create bubbles or flaws in your tint application later on, so take time during each cleaning stage.
With a clean glass surface and adhesive in place, we move on to one of the most critical phases of installation: positioning and smoothing the film.
Positioning and Smoothing
Carefully positioning the tint film on your clean window allows the technician's expertise to truly shine. They ensure that it aligns perfectly with all edges and corners of the window frame. Using a squeegee, they begin to eliminate air bubbles and any excess moisture trapped beneath the film. This smoothing process not only enhances aesthetics but also promotes strong adhesion. Patience is key here; rushing can lead to imperfections that detract from how seamless and professional your windows will ultimately look.
Once these adjustments are made, we turn our attention to heat application to finalize the process.
Heat Application
To further secure and speed up curing of the film, technicians often utilize a heat gun. This essential tool gently warms up specific areas of the film while assisting in shrinking it slightly to conform perfectly to any curves or bends in the window design. Just like warming dough makes it more pliable, applying heat helps mold the tint around obstacles like defrosters or contours.
It's worth noting that all these steps culminate in a careful balance between technique and attention, leading to a sophisticated application that greatly enhances both aesthetics and functionality.
After completing these meticulous steps, we can confidently move forward into understanding how best to care for your newly tinted windows to maintain their pristine condition.
Post-Installation Care
After the tint is applied, it's essential to embrace a little patience during the curing period. This phase is where the adhesive bonds firmly to your vehicle's windows, usually taking about three to five days. It's crucial to refrain from rolling down your windows during this time. Think of it as allowing the film to settle into its new home, just like a freshly baked cake needs time to cool before you slice into it.
Curing Period
Curing is not merely a formality; it’s an essential step in ensuring that your investment stands the test of time. Allowing sufficient time for this process guarantees that the tint maintains its clarity and effectiveness over the years. Just picture it: a perfectly applied layer encasing your windows, acting as a shield against harmful UV rays and unwanted heat.
You might notice some haze or small bubbles right after installation, but don’t let that concern you. This is completely normal and will likely disappear as the film continues to bond with the glass. It’s similar to how fog clears up after a warm day: give it time, and soon enough, you'll have clear views through your tinted windows.
Cleaning Guidelines
Once the curing period has ended, cleaning becomes part of your routine maintenance. For this, stick to a gentle approach, use a mild, non-ammonia-based cleaner paired with a soft, microfiber cloth. Think of these tools as essential allies in maintaining the pristine quality of your tint. Ammonia can be a villain in this scenario, weakening the adhesives that keep your tint in place, so steer clear of any harsh chemicals or abrasive materials that may scratch the surface.
Regular Inspection
Additionally, make it a habit to inspect the edges of your tint regularly, especially during the first few weeks post-installation. Look out for signs of peeling or bubbling. Catching any issues early on can save you time and potential hassle by allowing you to take advantage of warranty coverage offered by reputable dealers. It’s like checking up on a young plant; just as regular watering helps it grow strong, frequent inspections help keep your windows looking sharp and fresh.
As we continue exploring this topic, understanding what benefits come from professional window tinting can help enhance your experience and investment even further.
Benefits and Warranties
Investing in professional window tinting isn’t merely about aesthetics; it introduces an array of substantial benefits that enhance your driving experience. One significant advantage is UV and Heat Protection. Quality films can block up to 99% of harmful UV rays while reducing heat by as much as 60%. This means the interiors of your vehicle are protected from sun damage and fading, while you'll also enjoy a significantly cooler ride on those hot Missouri days.
Another noteworthy benefit lies in enhanced privacy.
Tinted windows elevate your privacy by making it noticeably harder for prying eyes to see inside your vehicle. This added layer discourages theft and can deter unwanted attention when you’re parked or sitting in your car. Imagine you’re at a gas station or waiting for a friend, having that tint provides peace of mind, allowing you to go about your day with less concern about people looking in.
Beyond privacy and heat reduction, there's also an important aspect regarding safety.
Window tinting truly excels in safety as well. Should an accident happen, the film holds shattered glass fragments together, reducing the risk of injury from sharp shards flying around. This feature transforms what could be a major hazard into something far less dangerous, further emphasizing the value of investing in quality window films for your vehicle.
Now, let's touch on a crucial element that goes hand-in-hand with these benefits: warranties.
Most credible professional tinting services offer robust warranty coverage designed to protect your investment long-term. For example, someone might receive a lifetime warranty covering common issues like peeling, bubbling, or discoloration. This assurance takes away anxiety surrounding potential defects or repairs after installation. You can confidently drive knowing that if a problem arises with the film on your windows, you're covered.
Common Warranty Inclusions
| Warranty Issues |
|---|
| Peeling or bubbling |
| Discoloration or fading |
| Adhesive failure |
| Film cracking or delaminating |
Understanding these warranty inclusions ensures you are fully informed about what protection you have. Since window films vary in quality across different providers, reviewing these details before choosing a service can save you from unexpected headaches down the road.
With clear benefits such as comfort from UV protection, increased privacy, heightened safety, and solid warranty options available, professional window tinting proves to be a wise investment for any vehicle owner.
Final Thoughts
Professional window tinting represents far more than a simple cosmetic upgrade to your vehicle. As we've explored throughout this comprehensive guide, it's a strategic investment that delivers measurable returns in comfort, protection, and peace of mind.
From the moment you select a reputable tinting service through the careful application process and beyond, every step matters. The preparation phase ensures proper adhesion, the precise cutting and installation guarantee a flawless appearance, and the proper post-installation care preserves your investment for years to come. These aren't just procedural formalities, they're the difference between a professional job that lasts and a disappointing experience that leaves you frustrated.
The benefits speak for themselves. Blocking up to 99% of harmful UV rays protects both you and your vehicle's interior from sun damage. Reducing heat by as much as 60% transforms your driving experience, especially during sweltering summer months. Enhanced privacy provides security and peace of mind, while the added safety feature of holding shattered glass together could prove invaluable in an unfortunate accident.
When you choose quality films backed by solid warranties, you're not just paying for a product, you're investing in long-term value. Whether you opt for budget-friendly standard films, performance-driven carbon films, or premium ceramic options, understanding what each type offers empowers you to make the right choice for your specific needs and budget.
Remember, the key to satisfaction lies in doing your homework upfront. Research multiple providers, verify their certifications, read customer reviews, and don't hesitate to ask questions about materials, processes, and warranty coverage. A reputable installer will welcome your inquiries and provide clear, honest answers.
As you move forward with your window tinting project, approach it with confidence. Armed with the knowledge from this guide, you're prepared to navigate the process from start to finish, making informed decisions every step of the way. The result will be windows that not only look professionally done but also perform exceptionally well for years to come, enhancing every mile you drive.